Introduction:
Creating a logo in Photoshop is one of the first steps to build a brand identity. Whether you’re a freelancer, startup, or just exploring design, Photoshop offers all the tools to craft a professional logo. Let’s design a simple, modern logo in just a few easy steps.
✏️ Step-by-Step Guide:
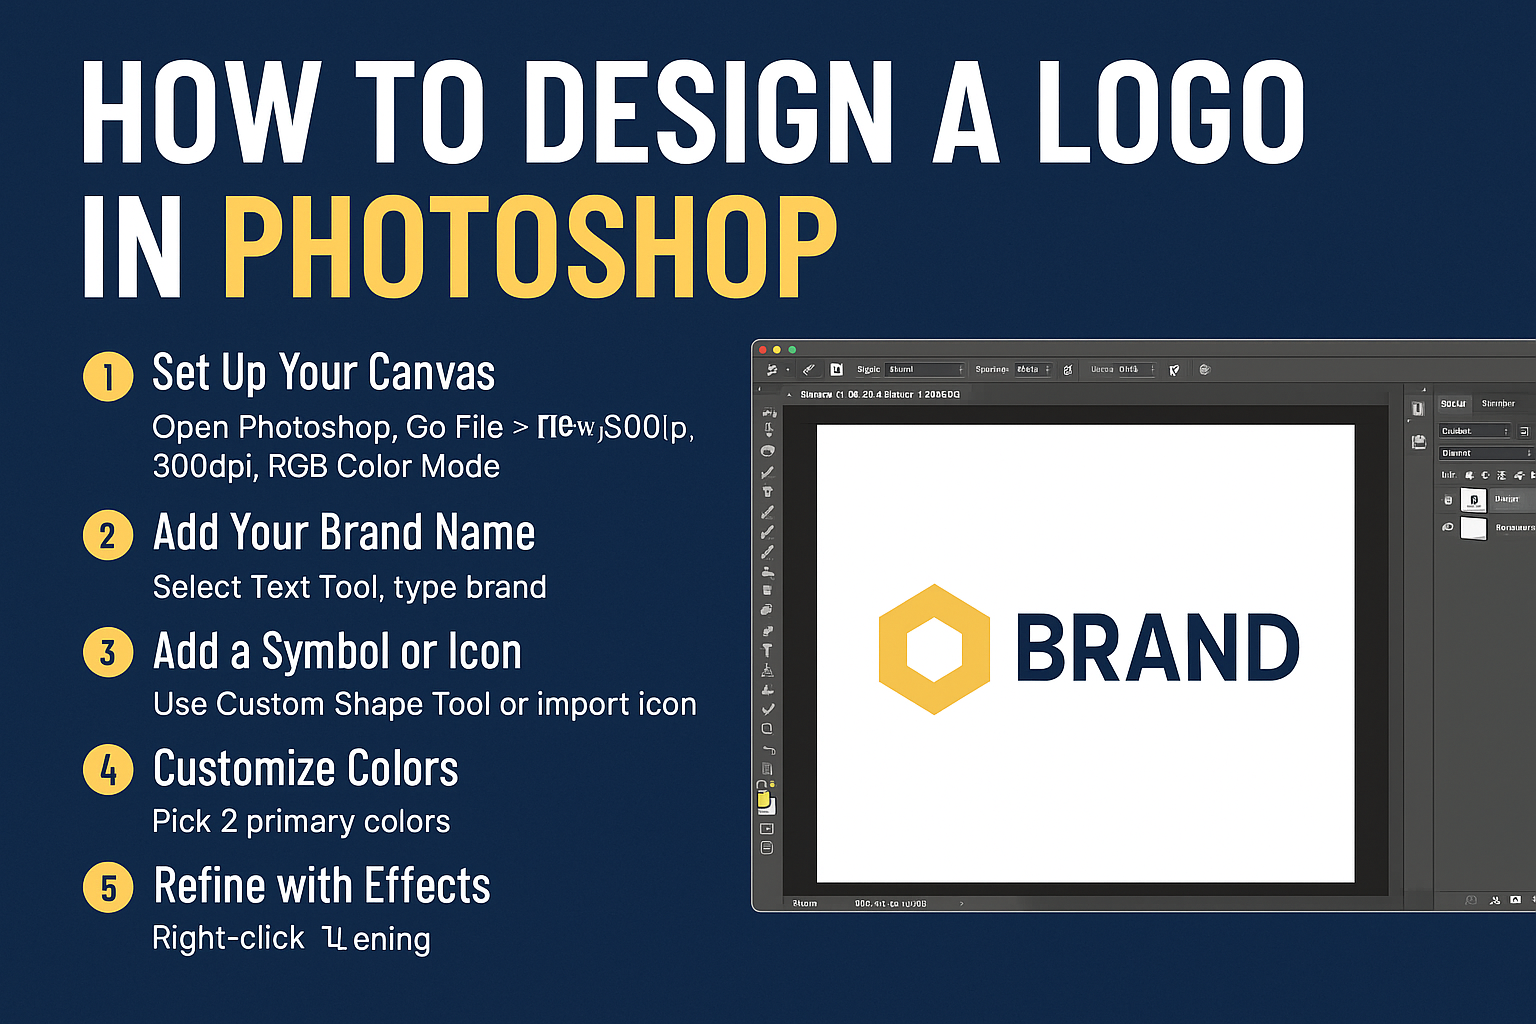
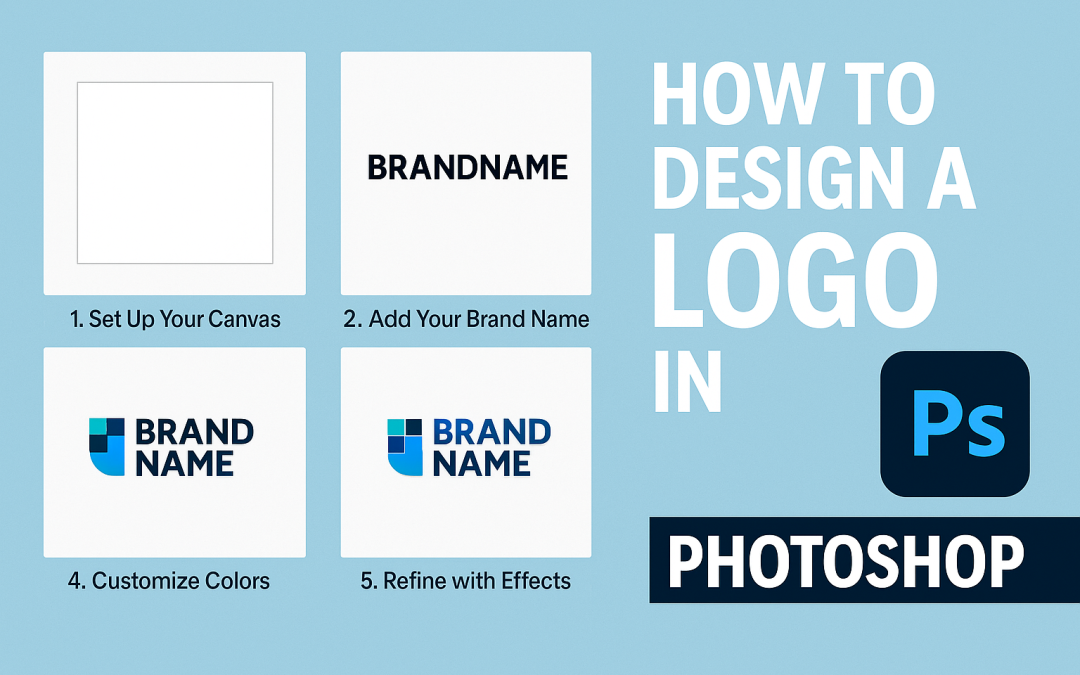
Step 1: Set Up Your Canvas
-
Open Photoshop and go to
File > New. -
Set dimensions: 1000×1000 pixels, 300dpi, RGB Color Mode.
-
Click “Create.”
Step 2: Add Your Brand Name
-
Select the Text Tool (T) and type your brand name.
-
Choose a bold, readable font like Montserrat or Bebas Neue.
-
Adjust size, alignment, and color using the top toolbar.
Step 3: Add a Symbol or Icon
-
Use
Custom Shape Toolor import a PNG/SVG icon. -
Place the icon beside or above your brand name for balance.
Step 4: Customize Colors
-
Pick 2 primary colors that match your brand theme.
-
Apply gradients or solid fills for a sleek look.
Step 5: Refine with Effects
-
Right-click on the text layer → Blending Options.
-
Try Drop Shadow, Stroke, or Gradient Overlay for style.
Step 6: Export Your Logo
-
Go to
File > Export > Export Asand choose PNG (for transparency). -
Save in high-resolution for use in web, print, and social media.